A well-prepared changing bag is a parent’s best ally when you’re out and about with your baby. Whether it’s a short trip to the grocery store or a day-long adventure, having the essentials in your changing bag can make life easier for both you and your little one. Helping your baby sleep through the night is a common goal for many parents. While it may take time and patience, there are strategies you can implement to encourage longer, uninterrupted sleep.
Diaper changing bag are a must-have item when it comes to parenthood. They’re essential for packing up all of your baby’s things in an easily accessible place when you venture out. Typical diaper bag items include diapers, baby wipes, pacifiers, change of clothing, etc. Because they’re frequently used outside of the home, diaper bags can get pretty filthy, so it’s important to clean them regularly. If you haven’t been cleaning your diaper bag or aren’t sure how to do it, keep reading for some how-to tips.
Here’s how to prepare a changing bag effectively:
1. Choose the Right Bag: Select a bag that’s compact and easy to carry but still spacious enough to fit all your essentials. Many parents prefer a dedicated diaper bag, as it often comes with handy compartments and changing mats. However, any bag with multiple pockets can work well.
2. Stock Up on Diapers: Pack an ample supply of diapers. The number will depend on how long you’ll be out. A general rule is one diaper for every hour you’ll be away, plus a few extras in case of emergencies.
3. Don’t Forget Wipes: Baby wipes are a must. They’re not just for cleaning your baby; they’re handy for quick clean-ups, too. Consider a travel-sized pack to save space.
4. Pack a Changing Mat: A portable changing mat provides a clean surface for diaper changes, whether you’re using a public restroom or a park bench. Some diaper bags come with built-in mats, but you can also purchase them separately.
5. Bring Extra Clothes: Accidents happen. Pack a change of clothes for your baby, including a spare onesie, socks, and a light jacket in case of temperature changes.
6. Include Baby Lotion and Diaper Cream: Keep a small tube of baby lotion and diaper cream in your bag for diaper changes. These can help prevent or soothe diaper rash.
7. Add Feeding Supplies: If you’re breastfeeding, you may need a nursing cover. For bottle-feeding parents, pack pre-measured formula in a container and a clean bottle. Include a bib, burp cloth, and a sealed, spill-proof water bottle for mixing formula.
8. Stay Hydrated: Pack a water bottle for yourself. Staying hydrated is essential, especially if you’re breast feeding.
9. Include Snacks: For older babies, carry a few healthy snacks like baby food pouches, crackers, or cut-up fruits. Make sure they’re stored in a sealed container to avoid spills
10. Don’t Forget Toys: A small, engaging toy can keep your baby entertained during diaper changes or waits in line. Attach a toy to the outside of your bag for easy access.
11. Emergency Supplies: Consider adding a small first-aid kit with items like adhesive bandages, baby-safe antiseptic wipes, and baby pain reliever, just in case.
12. Personal Items: Don’t forget essentials like your wallet, keys, and your phone. These are often the first things to be forgotten in the chaos of preparing a changing bag.
13. Keep It Organized: Use zip-lock bags or small pouches to keep items organized and easy to find. This also helps prevent leaks from soiled diapers or spilled baby food.
14. Regularly Check and Restock: Make it a habit to check your changing bag regularly. Ensure that you have enough supplies, and replace any used or expired items. This prevents last-minute rushes when you’re heading out.
15. Personalize Your Bag: Add a personal touch to your changing bag, like a keychain or a luggage tag, to help identify it quickly among other bags.
What do you need for changing bag?
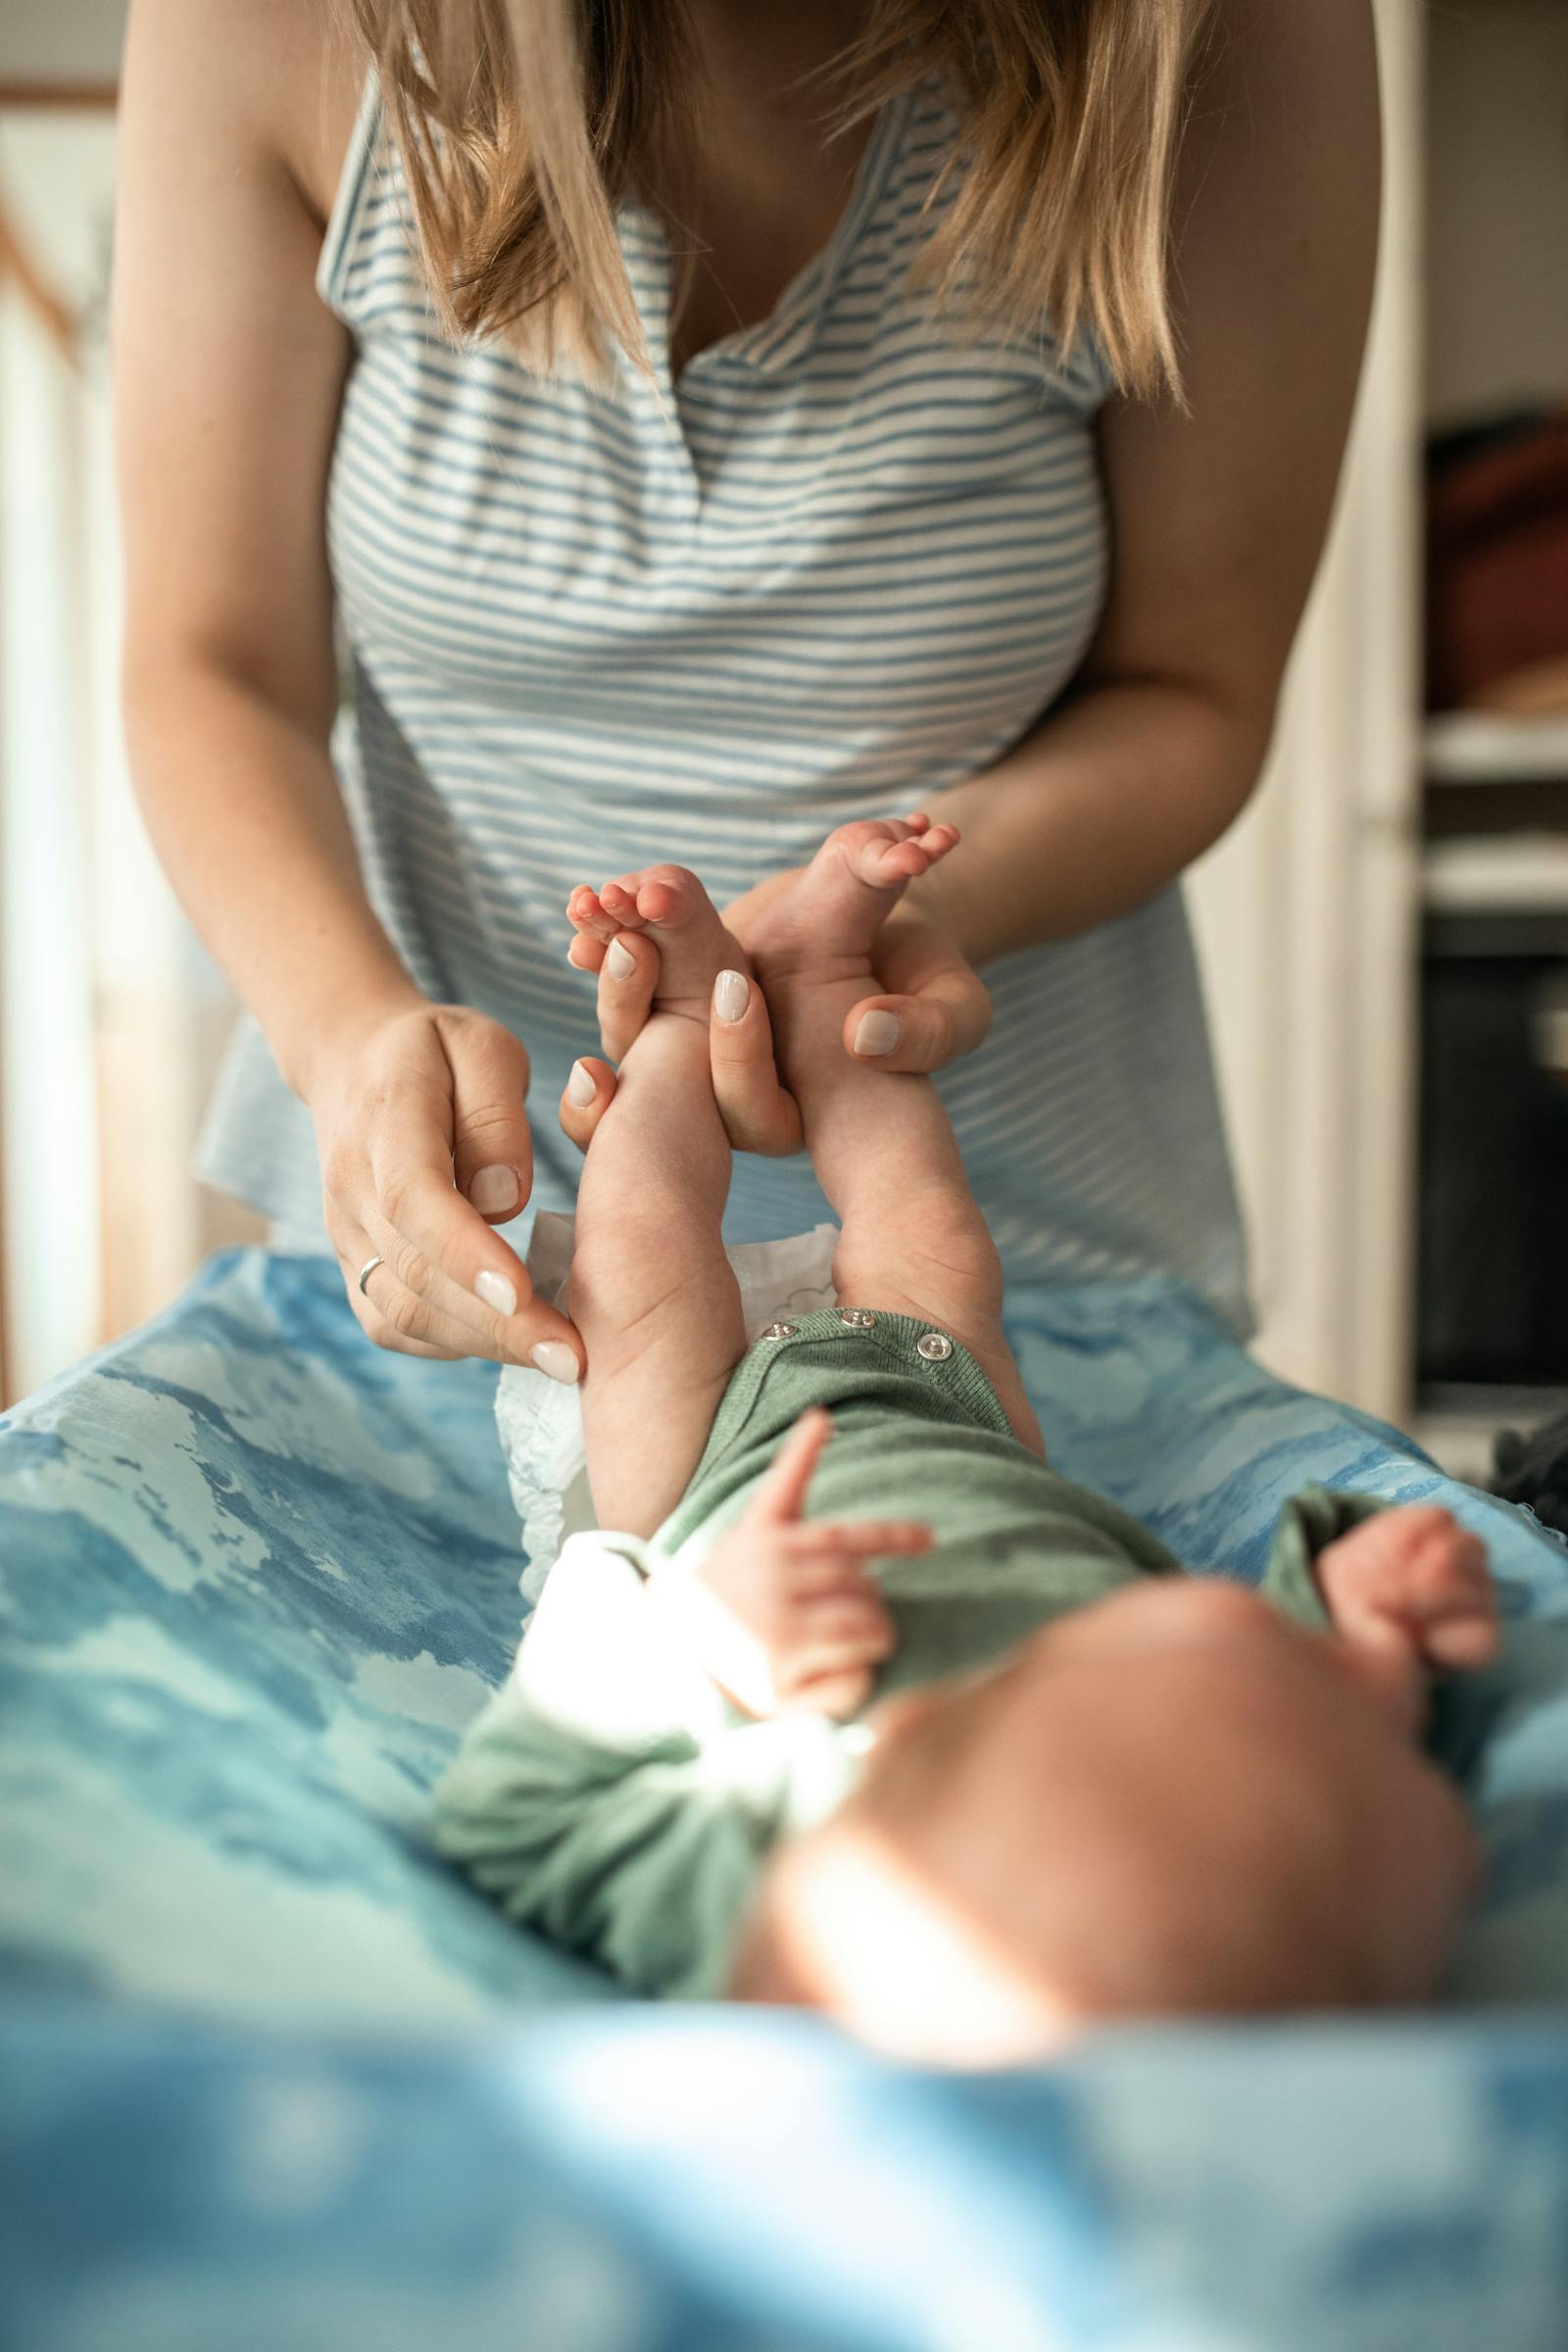
Your Young babies need their nappy changed up to 10 or 12 times a day. Older babies need changing at least six to eight times daily. This all means you’ll need stuff for nappy changing while you’re out and about.
- A changing mat, cotton wool or alcohol-free and fragrance-free wipes.
- A plastic bag or nappy sacks for dirty nappies, as most places ask you to take your nappy home with you. On the other hand, commercial premises with nappy changing facilities should dispose of nappies.
- Barrier cream (if you’re using it) to protect your baby’s skin. You could apply a small amount to the nappy area if needed to help soothe nappy rash.
- Three to four clean disposable nappies, or liners and covers if you’re using cloth nappies. How many you need depends on how long you’ll be out for and how old your baby is.
- A change of clothes for your baby in case of any nappy explosions that leak. An extra plastic bag or nappy sack to put wet and dirty clothes in won’t go amiss either.
Why You Might Need a Diaper Bag-
“Do I really need a diaper bag for baby?” is a question you might have been asking yourself when putting together your baby shower registry or shopping for baby gear.
Technically, you could get away with using a backpack or tote bag you already have at home, but if you’re looking for something more specific to the task, there are plenty of great shoulder diaper changing bags or backpack diaper bags on the market that are designed for carrying your diapering gear and other essentials for your baby.
Many diaper bags include extra features like changing pads or cooler bags to help keep breast milk or baby food chilled when you’re on the go. Most diaper bags come with lots of pockets and compartments. And, with some diaper bags, you don’t even need to carry a separate handbag or purse, as there’s a parent pocket or pouch for stowing your phone, wallet, and keys.
When it comes to the look, some diaper bags are disguised as normal backpacks or totes, with a modern and neutral design, while others come in a sweet pattern or shade you’d expect to see in a diaper bag. Take your pick! With a diaper changing bag, you can have everything at your fingertips, and this can be really helpful when you’re trying to change your squirming baby or feed your hungry little one. Of course, the way you organize your diaper bag can make a difference too.
As a parent, you want to be prepared for anything and everything when you head out the door with your baby, whether it’s for that doctor’s checkup, a long-awaited trip to Grandma’s house, or a walk in the park. One item you really can’t go without is a well-stocked diaper bag, equipped with all the essentials you need to keep your baby happy, clean, and dry. Read on to discover why a diaper bag is a must-have, what to pack in it, and how to pack it for optimum convenience.
Why You Might Need a Diaper Changing Bag
“Do I really need a diaper bag?” is a question you might have been asking yourself when putting together your baby shower registry or shopping for baby gear.
Technically, you could get away with using a backpack or tote bag you already have at home, but if you’re looking for something more specific to the task, there are plenty of great shoulder diaper bags or backpack diaper bags on the market that are designed for carrying your diapering gear and other essentials for your baby.
Many diaper bags include extra features like changing pads or cooler bags to help keep breast milk or baby food chilled when you’re on the go. Most diaper bags come with lots of pockets and compartments. And, with some diaper bags, you don’t even need to carry a separate handbag or purse, as there’s a parent pocket or pouch for stowing your phone, wallet, and keys.
When it comes to the look, some diaper bags are disguised as normal backpacks or totes, with a modern and neutral design, while others come in a sweet pattern or shade you’d expect to see in a diaper bag. Take your pick!
With a diaper bag, you can have everything at your fingertips, and this can be really helpful when you’re trying to change your squirming baby or feed your hungry little one. Of course, the way you organize your diaper bag can make a difference too.
What to Pack in Your Diaper Changing Bag?
The must-haves you need to pack in your diaper bag depend on where you’re going, the weather, and how long you’ll be out and about for. In this section, we list the basic diaper bag essentials as well as some diaper bag extras you might consider adding. Beyond these, consider what you might need to keep your baby comfortable based on what you’re doing and any special needs you and your little one might have.
Diaper Changing Bag Essentials-
Below is a list of diaper bag essentials, perfect for a quick outing, a day trip, or even an overnight stay:
- Diapers. Pack one diaper in your diaper bag for every two or three hours you’ll be away, plus one or two extras just in case.
- Wipes. It is a great option: Pampers wipes, which are designed for your baby’s sensitive skin. Some wipes come in a travel-size pack, which could be useful if space is at a premium in your diaper bag.
- Diaper rash cream. Choose a travel-size diaper rash cream to save space. You can also use petroleum jelly or a barrier ointment to help prevent diaper rash.
- Changing pad. Most diaper bags come with one, but if not, throw in a changing pad or a few disposable pads, as you never know where you’ll end up needing to change your baby.
- Hand sanitizer. Just in case you can’t wash your hands before and after a diaper change, or before feeding your baby.
- Nursing cover. Nursing covers are really versatile. They’re handy for extra privacy when breastfeeding, and they can also be used as a light blanket or to throw over the stroller for added sun protection.
- Burp cloths. Pack one or two burp cloths or even washcloths for your baby’s spit-up, or for wiping up spills.
- Bottles and feeding supplies. If you are using them, pack baby bottles and other feeding supplies like bottle nipples, pre-made formula (or powdered formula for mixing later), or a portable bottle warmer.
- Food, snacks, and water. If your baby is eating baby food, pack as much of it as you’ll need. If you have an older baby or toddler, pack some travel-friendly snacks, like O-shaped cereal or fish-shaped crackers, as well as water. You may want to pack some snacks and water for yourself as well.
- Pacifier. If you use a pacifier for your baby, store it in a re-sealable bag to keep it sanitary.
- Waterproof bag. This will come in handy for wet or soiled clothing or a dirty burp cloth.
- Change of clothes. This is especially important for day trips or an overnight stay, but even on a short outing your little one can have a poop explosion that requires a quick change of clothes. Don’t forget extra socks.
- Nursing pads. Tuck a few of these into your bag, and then into your bra, to help with breast milk leaks.
- Wallet and phone. If you’re not taking your purse, transfer your phone and wallet, and any other must-haves like keys, to your diaper bag, preferably in an easy-to-access pocket or pouch so you can find them when you need them.
Diaper Bag Packing Tips-
Packing your diaper changing bag needs to be strategic. You don’t just want to throw everything in there, because you’ll be kicking yourself later when you struggle to find something while juggling your wriggly baby. Organization is key especially when you need something fast, like a burp cloth when your baby spits up, or the pacifier that somehow migrated to the bottom of your diaper bag.
Here are some tips for packing and organizing your diaper hanging bag so everything is easy to access and reach:
- Organize by category. Your diaper bag shouldn’t be like a black hole. Instead, keep things in the right spot, so that you know where to look to find them. If your diaper bag has pockets and compartments, decide what you will put where and always have these items in their regular spots. If the bag you’re using doesn’t have many compartments, use small bags, like clear re-sealable plastic bags, to pack different categories of items together. For example, pacifiers and bottle nipples in one bag, diaper changing items in another.
- Portion bottles. If you’re formula feeding with powdered formula, measure out the formula and water and store them separately for mixing when your baby is ready for a feed. If you’re giving breast milk from a bottle, keep bottles of the appropriate amounts in a cooler.
- Stop leaks. No matter how well you’ve packed your baby’s milk, the water bottle for yourself, or the baby sunscreen, leaks are bound to happen. No one wants to be digging around in a wet, icky bag. The best idea is to pack each of these potentially leaky items in a re-sealable plastic bag so that if a leak does happen, it’ll just go in the bag and not all over the contents of your diaper bag
How to clean diaper bags–
Step 1: Check the label for manufacturer care instructions
The first thing you should do prior to cleaning is to check the label on the diaper changing bag to see if there are care instructions. The cleaning process can range from spot cleaning to tossing it into the washing machine depending on the material and style. Generally speaking, wiping down and spot cleaning should be safe to do on any type of material.
Step 2: Empty it completely
Take everything out of your diaper bag. Make sure to empty all pockets and compartments. Leave all zippers and clasps open.
Step 3: Shake it out
Turn it upside down over a large garbage can and shake it so any loose crumbs and dirt will fall out. You can do this outside if you prefer.
Step 4: Vacuum it
Use a slim vacuum attachment to remove any remaining dirt, dust, and debris inside the bag.
Step 5: Clean it with soapy water
Fill a bucket or large mixing bowl with warm water and mild laundry detergent. Wet a clean cloth, then wring it out so it’s damp. Then use the damp cloth to wipe the diaper bag thoroughly inside and outside. Make sure to wipe inside the pockets and compartments, as well as all straps and handles
Step 6: Clean it with clear water
Repeat the process with a clean cloth that is wet with only water (no detergent).
Step 7: Let it air dry
Hang the diaper changing bag somewhere to air dry completely before using it again. Leave the pockets and compartments open so it dries faster.
If you’re out and about when your diaper bag experiences a spill or a mess, you can use baby wipes in a pinch. They’re versatile and can be used for more than just diaper changes! Regularly cleaning your diaper bag will help it last longer in case you want to sell it to another mom after your little one outgrows the need for one.
Conclusion
A well-prepared changing bag can be a lifesaver, providing peace of mind when you’re on the go with your baby. Regularly updating and customizing the contents to your baby’s needs makes it a valuable companion for any outing.

